
Your cart is currently empty!
Building up the Neocaridina breeding project
We as Dumpylife have always been big fans of (neo)caridina. They are cheerful useful animals in the aquarium and really come in every possible color. We have several paludariums and aquariums and they are never complete without the neocaridina.
However, we found that the colors of the shrimps at the average pet shop were sometimes disappointing. The shrimps were sometimes weak, for example only 1 eye or with diseases. On the internet we saw the most beautiful colors, but the availability of real high grade shrimps in these shops was disappointing. If you are just starting to keep shrimps, or if you find color less important, that is not a problem. But if you want to breed the most beautiful colored shrimps you will have to select on characteristics that you find beautiful. In the shop the shrimps are often still just too small to select strictly on those characteristics and besides, few shopkeepers are waiting for that.
After doing a lot of research on what is important in shrimp farming, we decided to take the plunge ourselves. With the goal of breeding the most beautiful, strongest and healthiest Neocaridina. The start of building up the Neocaridina breeding project!
A great mission of course, but that does require space. Space for quite a few aquariums, depending on the desired color combinations of the shrimp. You can purchase these aquariums separately and put them in a cabinet, but there is also plenty of second-hand ones available on the internet. We also found 2 cabinets with a total of 18 tanks that could be split. These cabinets were designed in such a way that it was possible to create the same water flow in order to filter everything at the same time. We did adjust this anyway. It would have been very easy, but we were still afraid of possible diseases when purchasing new colors of shrimp. It was better to have the possibility to isolate.
It was a big job to place the cabinets, but when they were in place we were very satisfied. There was still a lot of work to be done, but the most annoying job was done. Now come the fun jobs:
-The aquarium tanks had to be cleaned,
-The equipment,
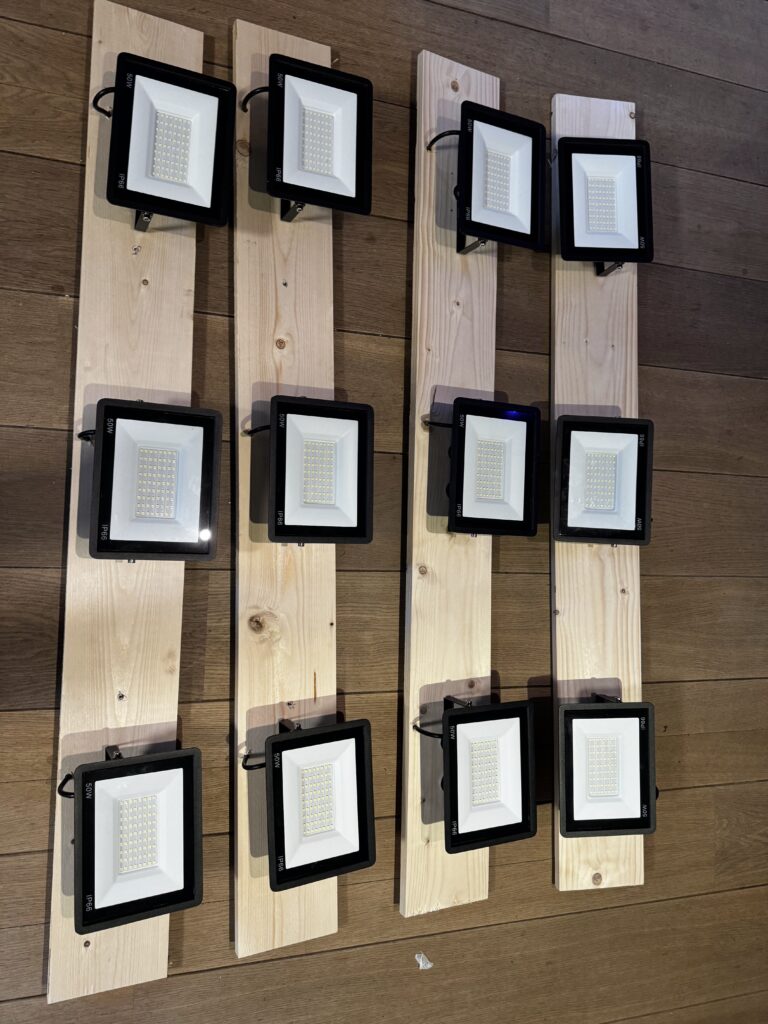
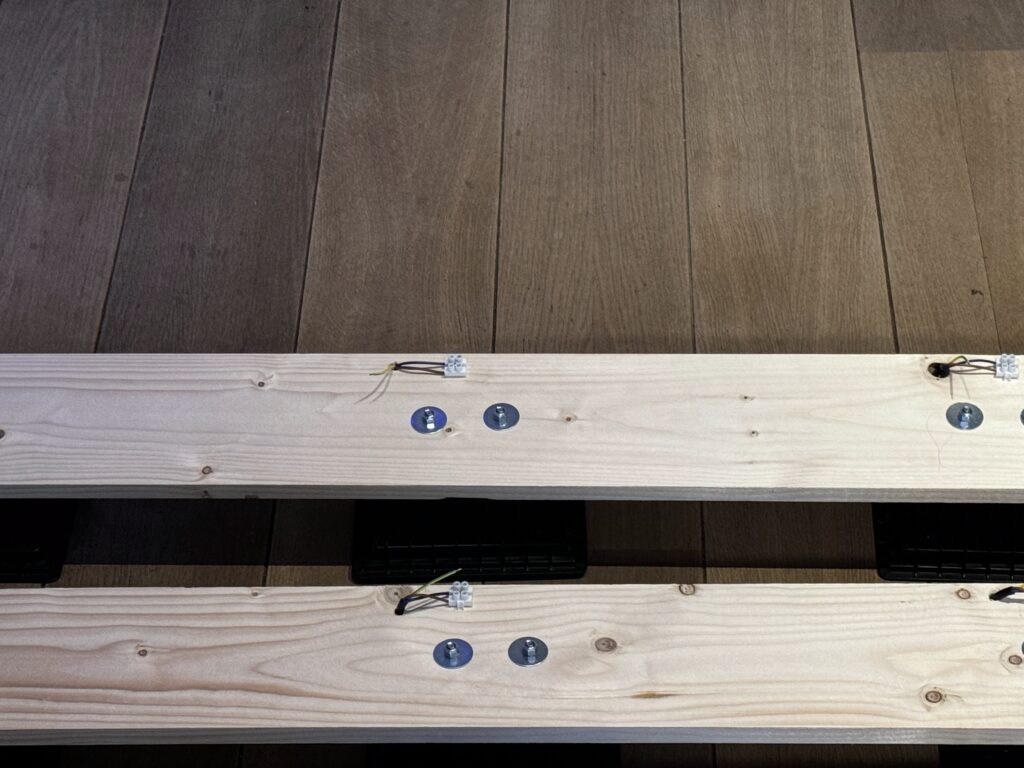
-Lamps had to be made,
-making cover plates from plexiglass
The challenge was that there were so many tanks. So everything had to be in 18-fold.
Then finally the fun work could begin! Running the aquariums. Because we already had some shrimps, we started with 1 aquarium. When we then had our desired foundation stones and furnishings, we started running the other aquariums. These are reserved for our beautiful colors. The rest of the tanks would be used for selective breeding and ”leftover shrimps”.
Each aquarium has its own (air) filter and thermostat. We covered these with very fine mesh, so that even the smallest shrimps do not get stuck in the filter. All air filters are connected to a large air pump that supplies all aquariums with air.
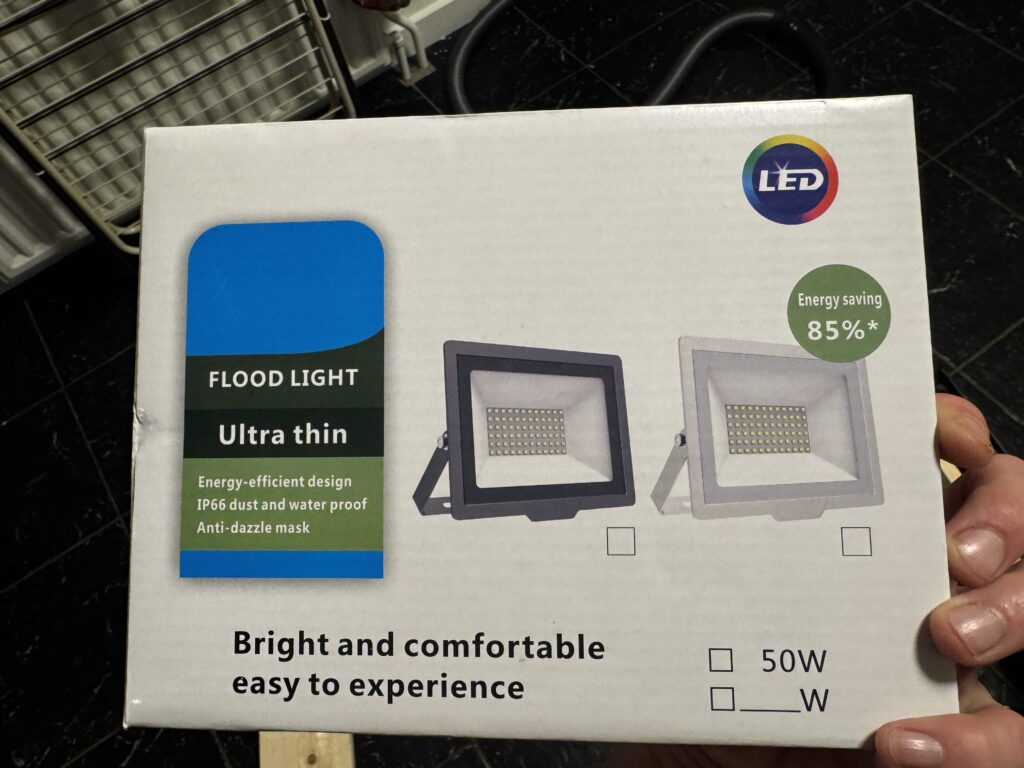
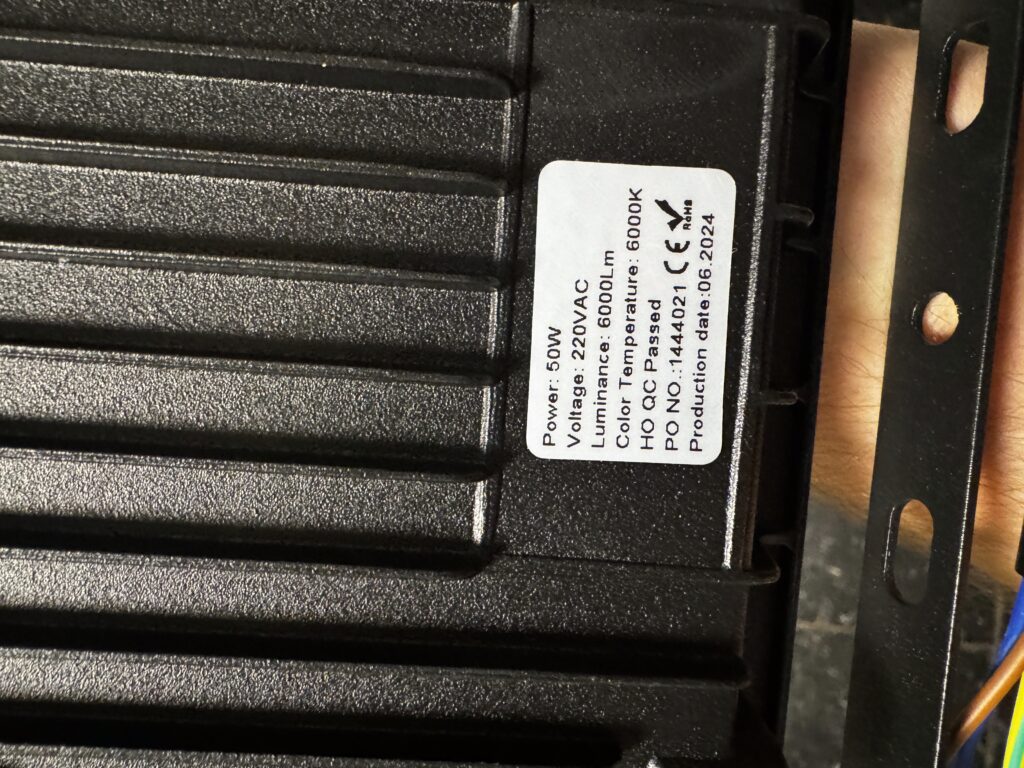
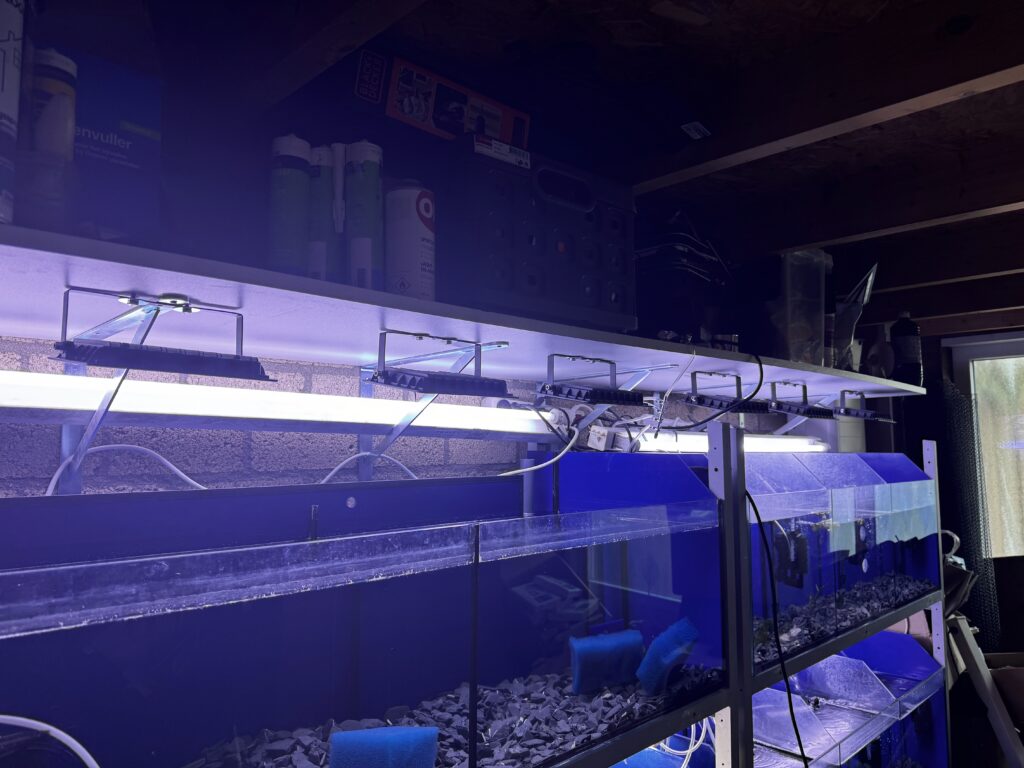
When we purchased this aquarium system, we received lighting. However, we were not very satisfied with it. Especially because we need to be able to see the colours well, good lighting was needed. After a lot of research on the internet, we decided to make a system ourselves. For this, we bought 50W LED lamps with the option of dimming. This allows us to create a bit more light for colour determination or care, but for the quality of life, a bit less light is more pleasant. The lamps are therefore dimmed for the most part during the day.
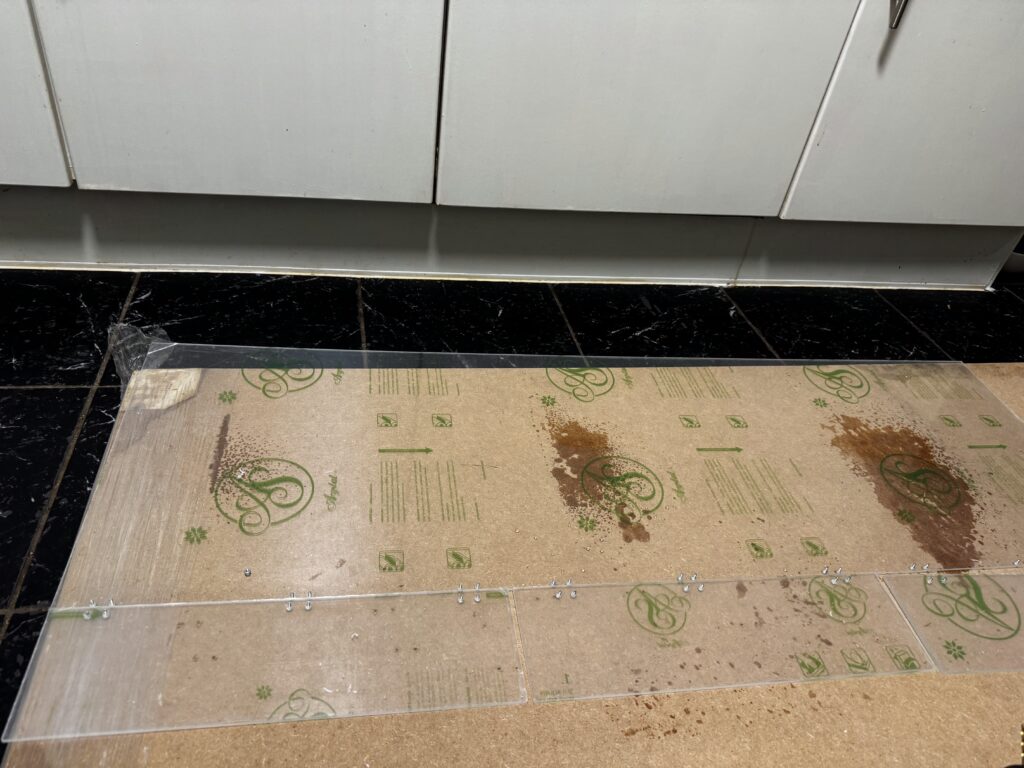
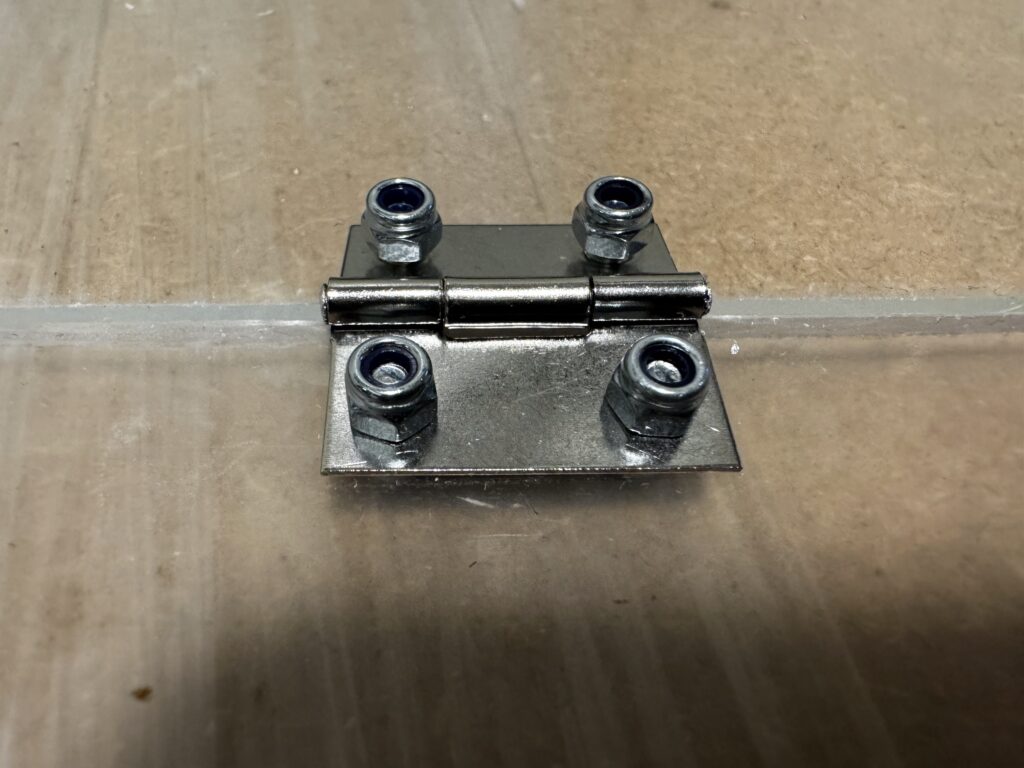
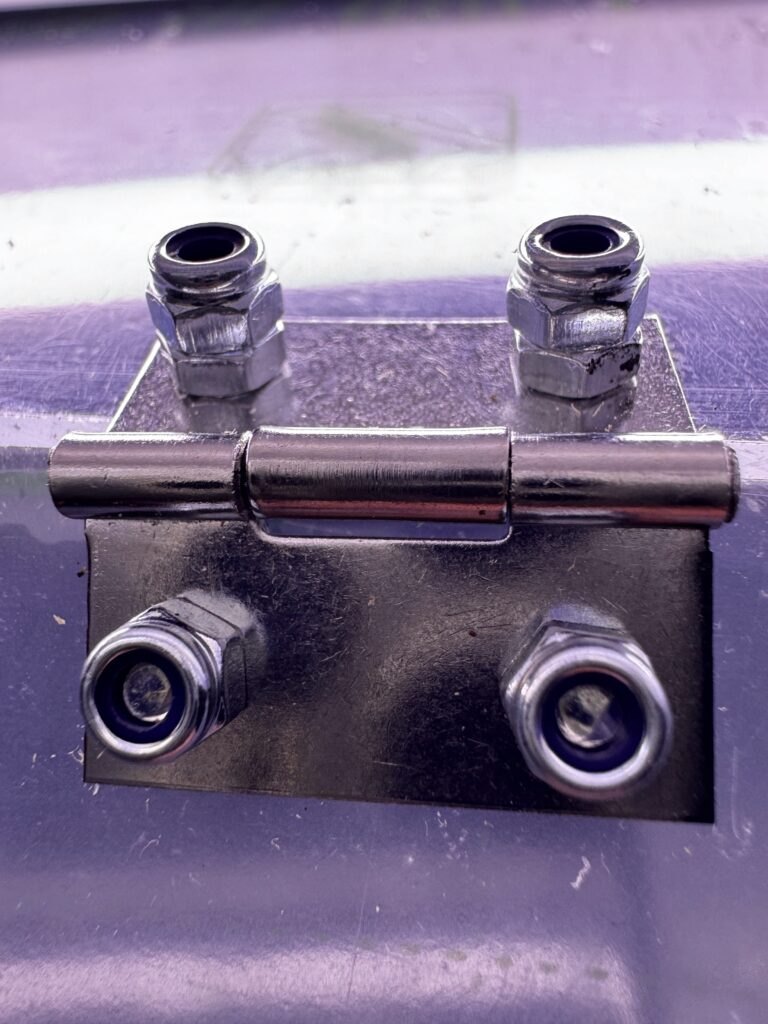
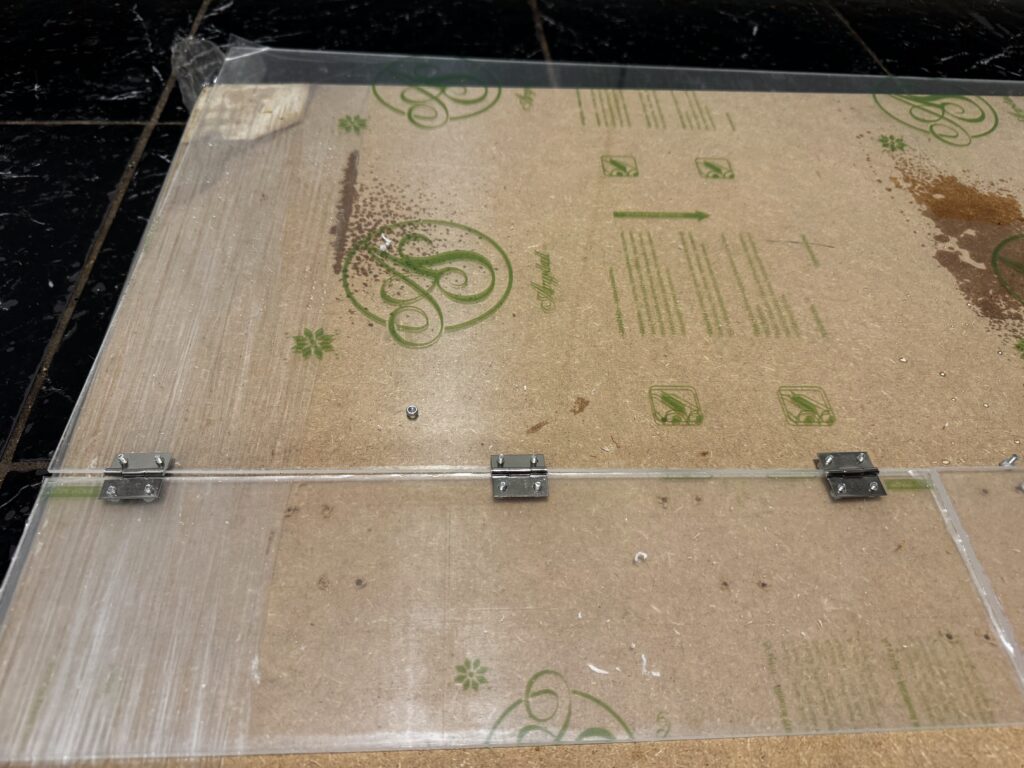
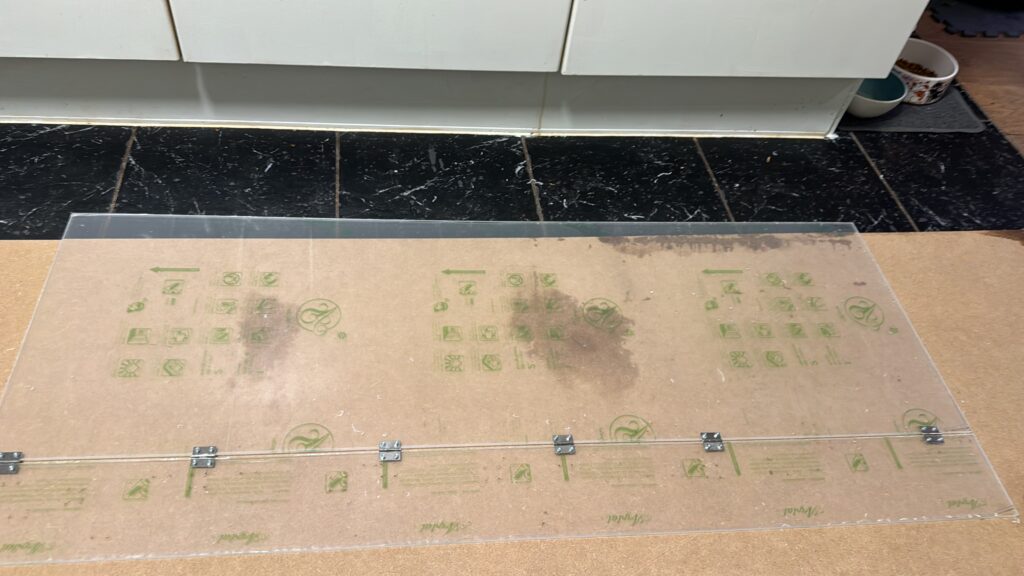
After this it was time for the cover. We chose plexiglass for this. Measure well in advance, measure again, measure again, and then order the plates. As a top plate we used 2mm thick plexiglass for the boxes that are divided into three compartments. The boxes that are not this offer less support and that is why we used 4mm thick plexiglass there. For the doors we used 5mm because these will be subject to manipulation a lot. The doors are each attached with three hinges. The hinges have a size of approx. 2×1.5 cm. What worked easiest was to first place the top plate and doors as it should be. Then with 1 hinge mark the holes on both the top plate and the doors. Then it gets exciting again because the holes have to be drilled with a three mm metal drill. They are close to the edge of the plate so mainly let the drill drill and apply little pressure. When drilling into plexiglass, make sure the metal drill bit is not new out of the box. First, drill a few holes in a wooden plank. When all the holes have been drilled, all the m3 bolts can go through, the hinges can be placed on them, and the nuts on them. The two parts are now attached to each other and the hood is ready.
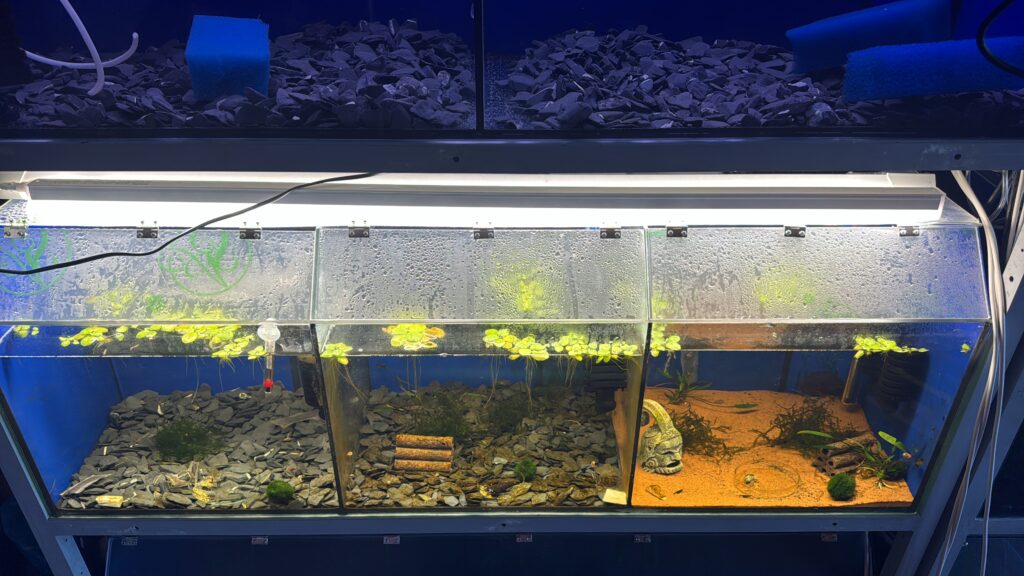
We are very pleased with the result. We have 18 beautiful covered, insulated aquariums, which are very easy to maintain. In case of any diseases, which always occur, we can isolate immediately and problems remain small. Well prepared for a manageable breeding.
With this, the shrimp paradise is open 😉